



Import process
Import process
The import process describes the individual steps required to successfully transfer data into the system. During this process the data is read from a file, validated and then transferred to the selected target table.
The following sections guide you step by step through the entire process. From selecting the file and configuring the mapping to finally executing the import. This ensures that the data is processed correctly and imported completely.
1. Standard import
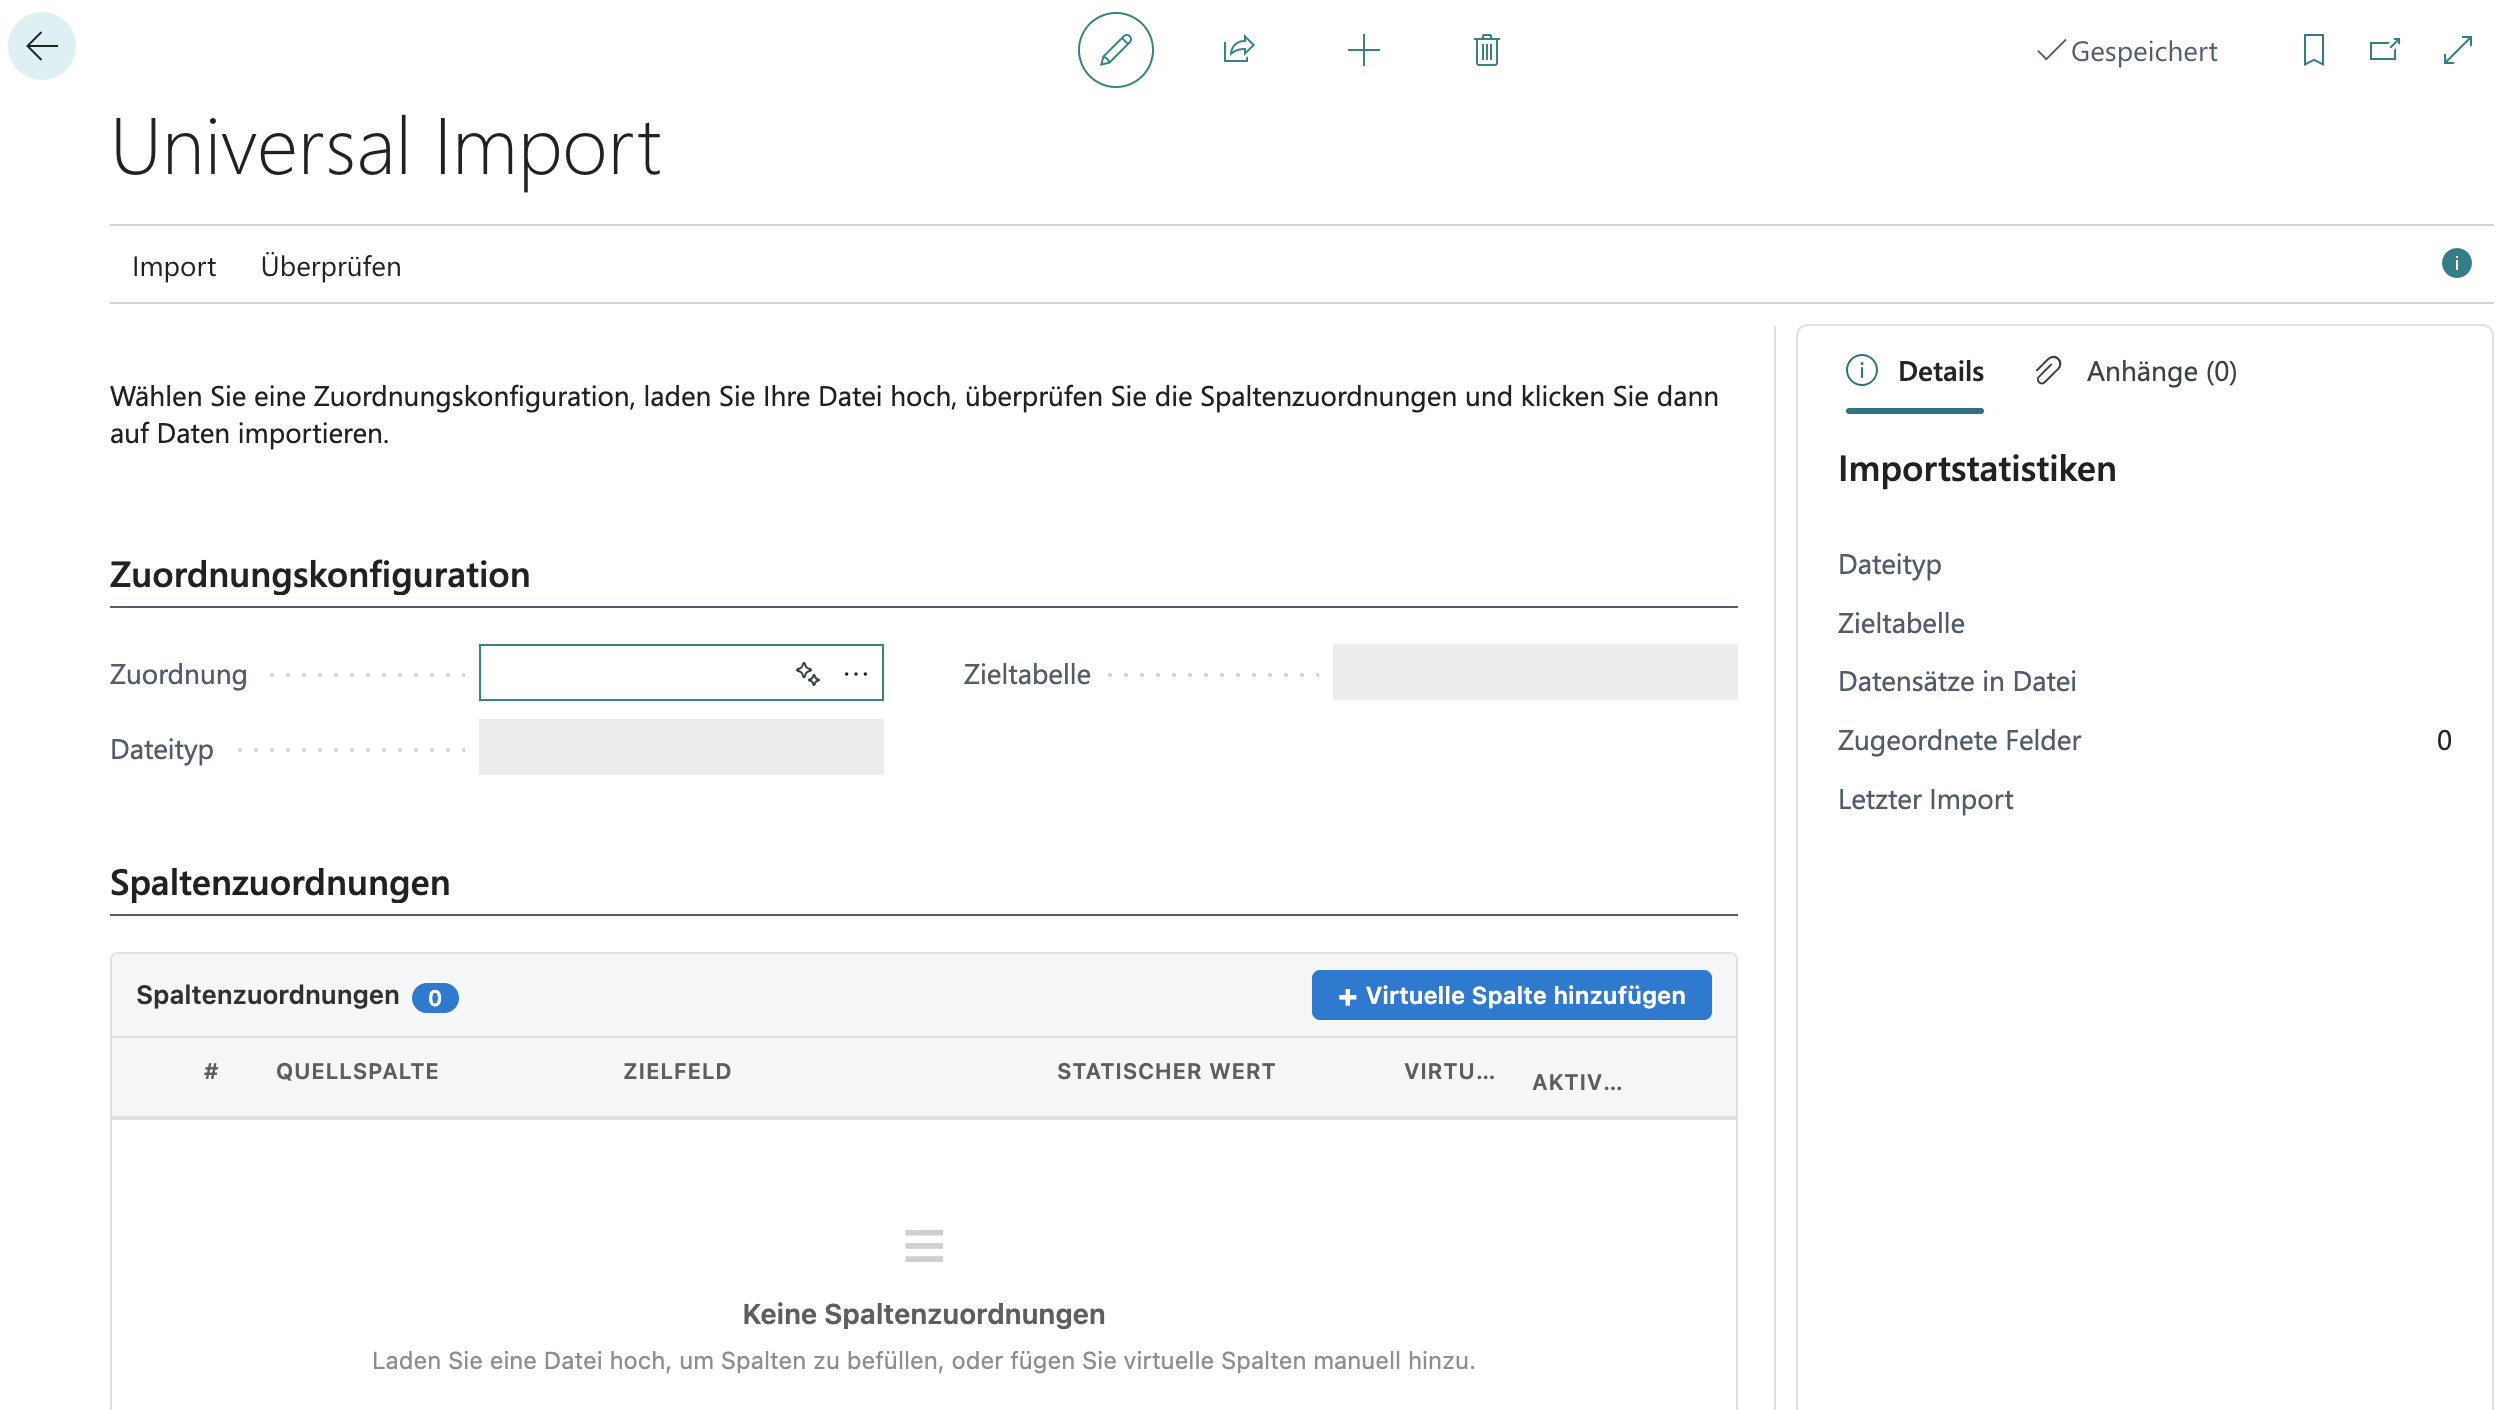
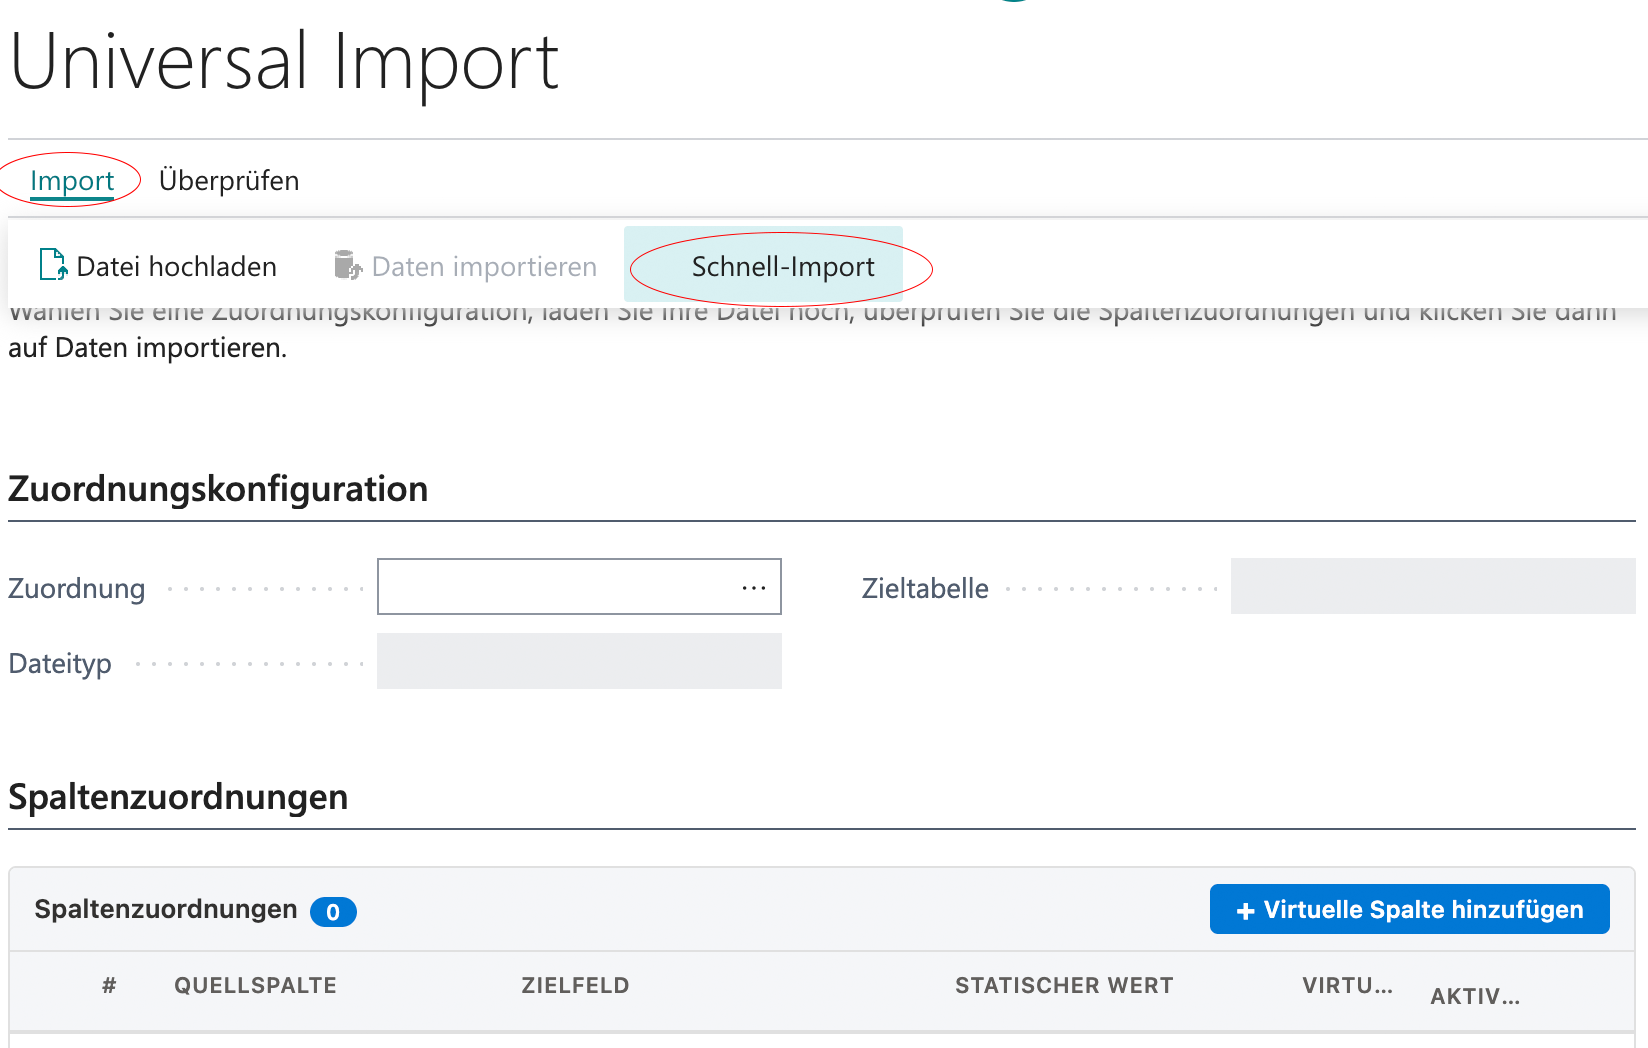
You can access the central Universal Import import page via the Business Central search.
This is where you perform the complete import process:
Select a mapping
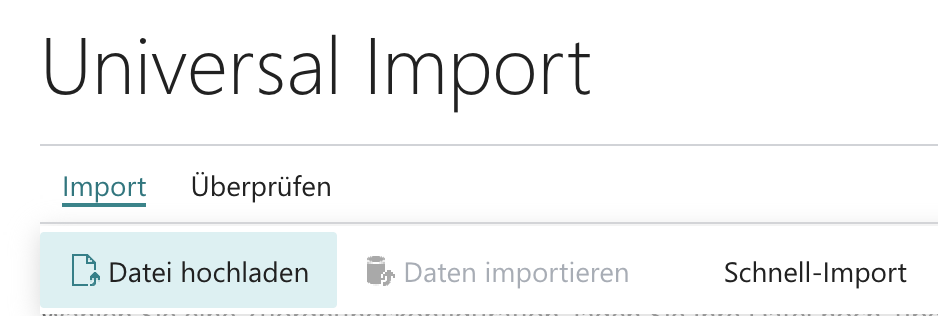
Upload the file
Check the columns
Optionally display the preview and run the import.

1.1 Step-by-step process
Select mapping: Select the desired import mapping (template) from the dropdown.

Upload file: Click Upload file and select your file. The file type must match the mapping type, for example, Excel mapping → Excel file.

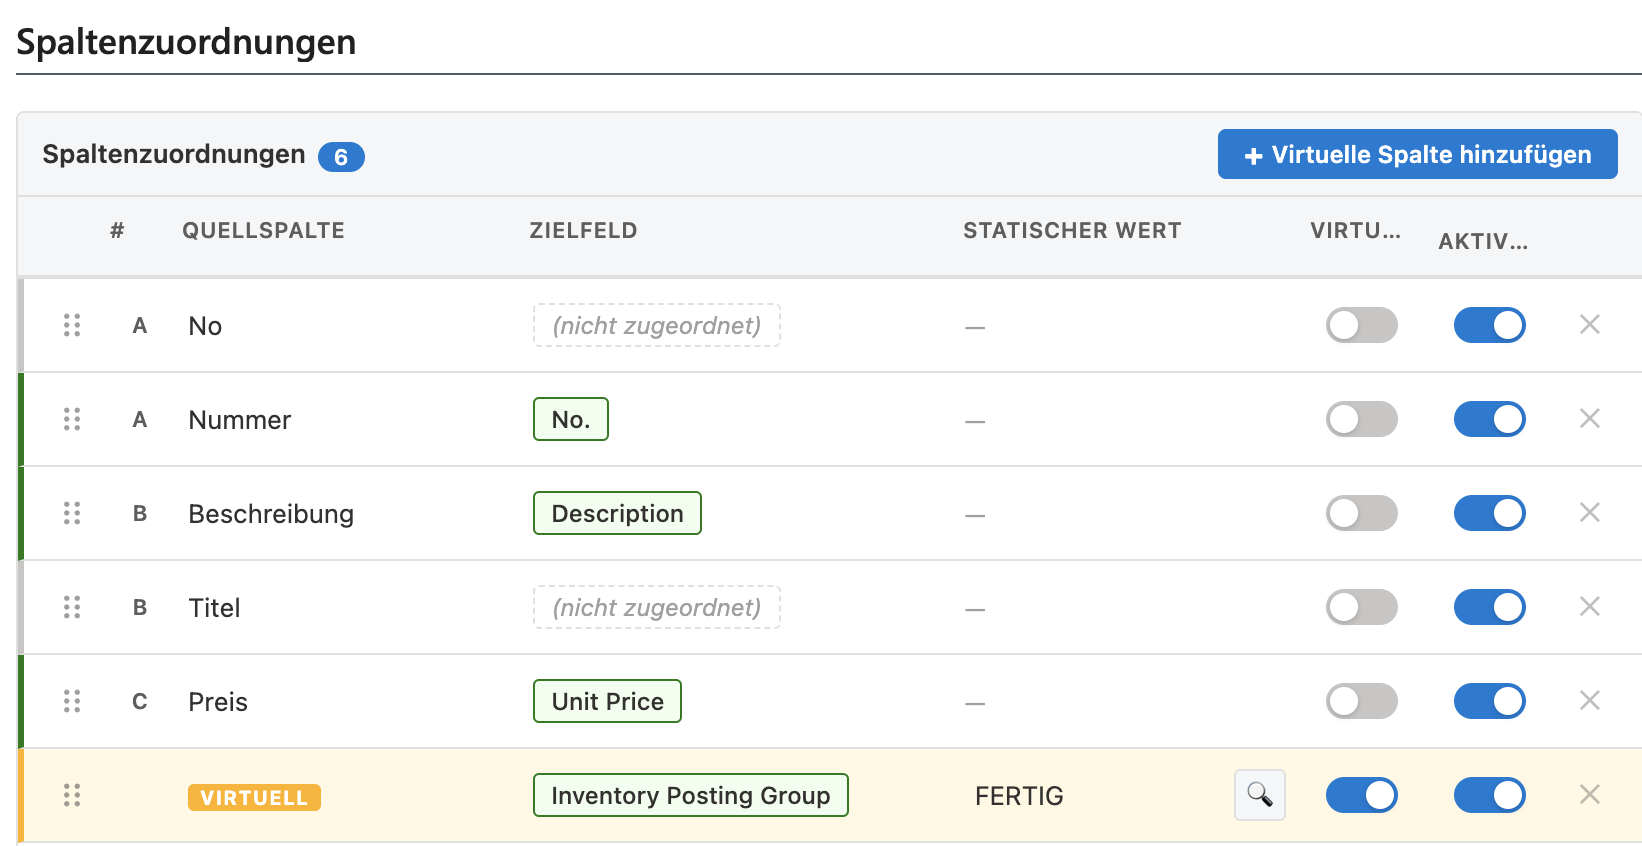
Check column mapping: Review and adjust the column mapping in the interactive list.

Optional preview: Click Preview to see what would happen during the import.

Start import: Click Import Data to execute the import.

Check log: The import log shows the results of the run.

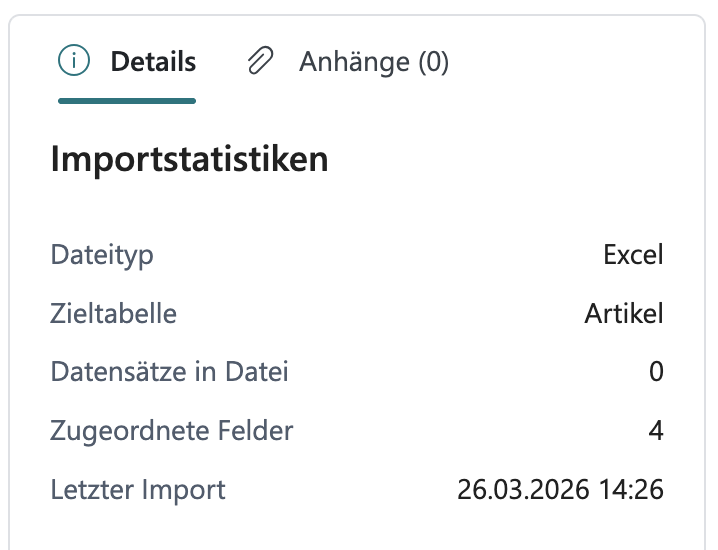
1.2 „Import statistics“ FactBox
The import statistics are displayed in the sidebar:
Mapping details
File type
Target table
Number of records in the file
mapped fields
Date of the last import

2. Quick import
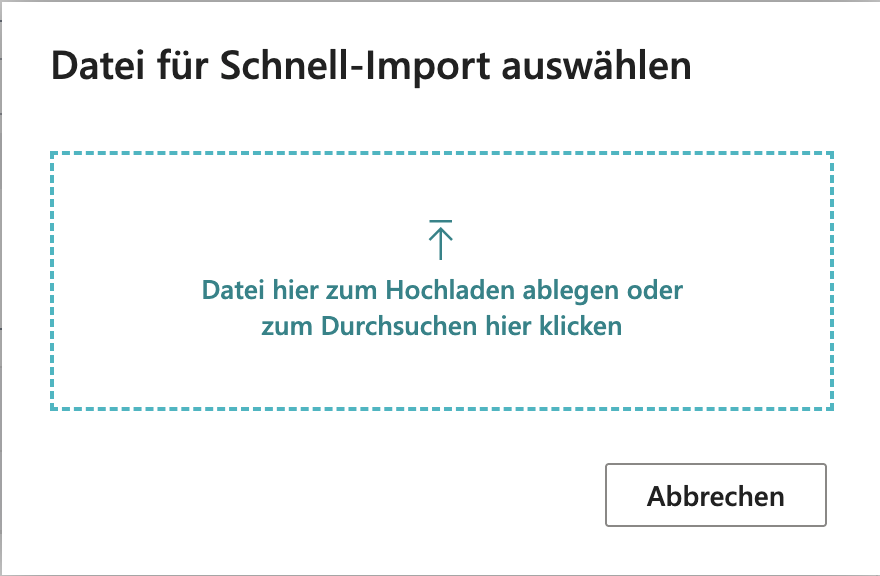
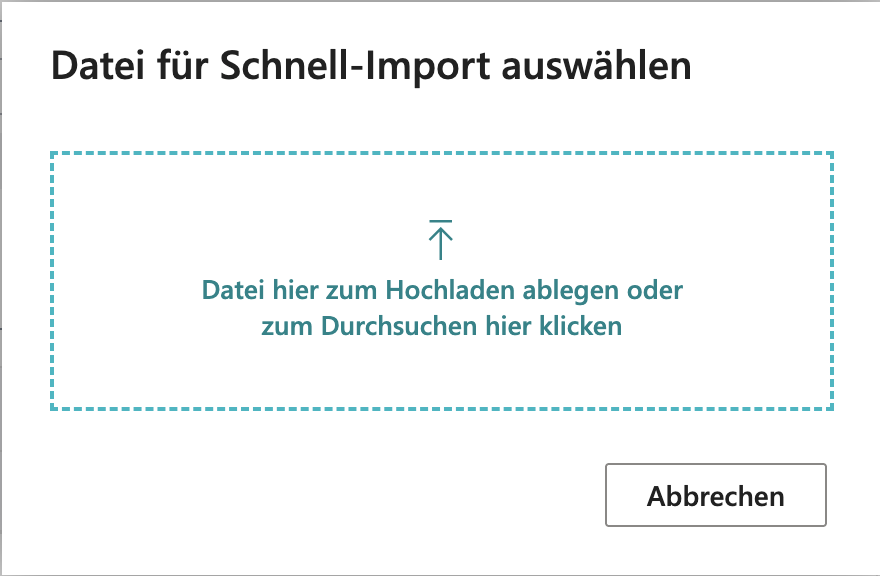
Quick Import automatically detects the matching template: You upload a file and the system searches for the corresponding import mapping by comparing the column headings in your file with the saved mappings.
2.1 Two ways to use quick import
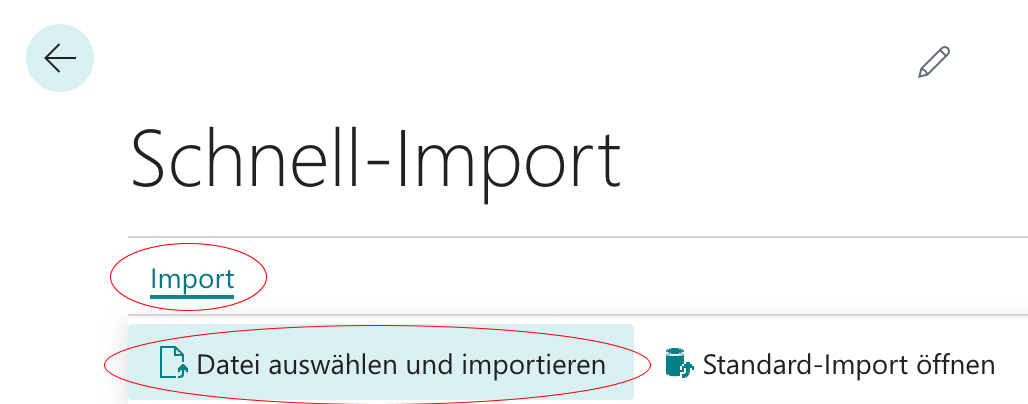
Standalone „Quick import“ page (via BC-search):
Select file automatic detection confirmation immediate import


"Quick Import" button on the Universal Import page:
Select file automatic detection template and file are loaded, allowing you to review everything before importing.


2.2 How the mapping is found
The system compares the column headings in your file with all saved mappings of the same file type.
A mapping is considered a match if at least 50% of its mapped columns are present in the file.
If exactly one mapping achieves a 100% match, it is selected automatically.
If multiple mappings match, select one from a list.
If no match is found, you are taken to the standard import.
2.3 Confirmation dialog
The dialog shows, among other things:
which template was detected;
how many of the template's mapped columns were found in the file (for example, "8 of 10 mapped columns found")
which mapped columns are missing from the file;
which columns in the file are new (meaning they are not included in the template).
Columns can be added, removed or reordered between file versions. Detection is based on fuzzy matching by column name, not on a fixed position. This means the matching often remains stable even if the file changes slightly.
3. Import preview
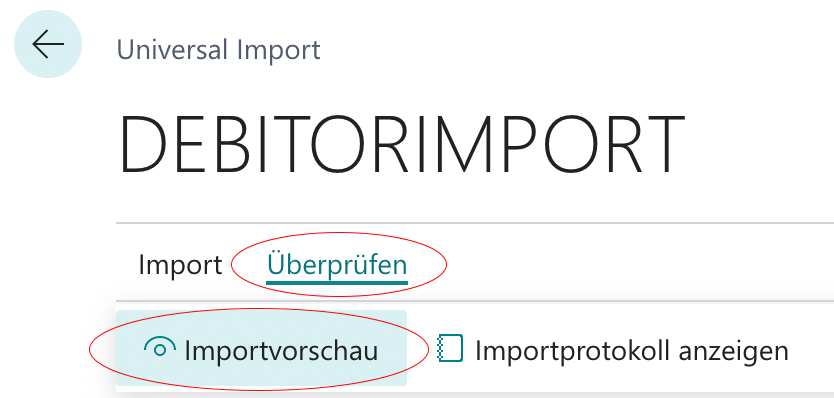
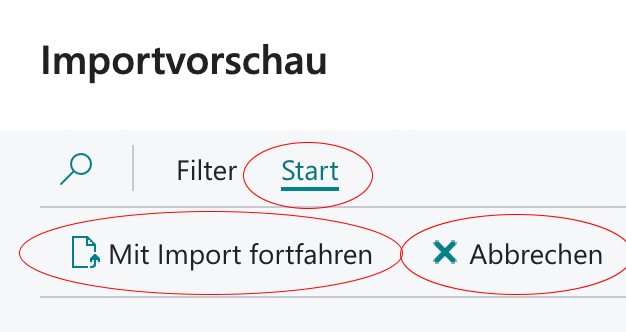
Before any data is written, you can carefully check what would happen. To do this, click the following on the import page:
"Process" "Import Preview"_.

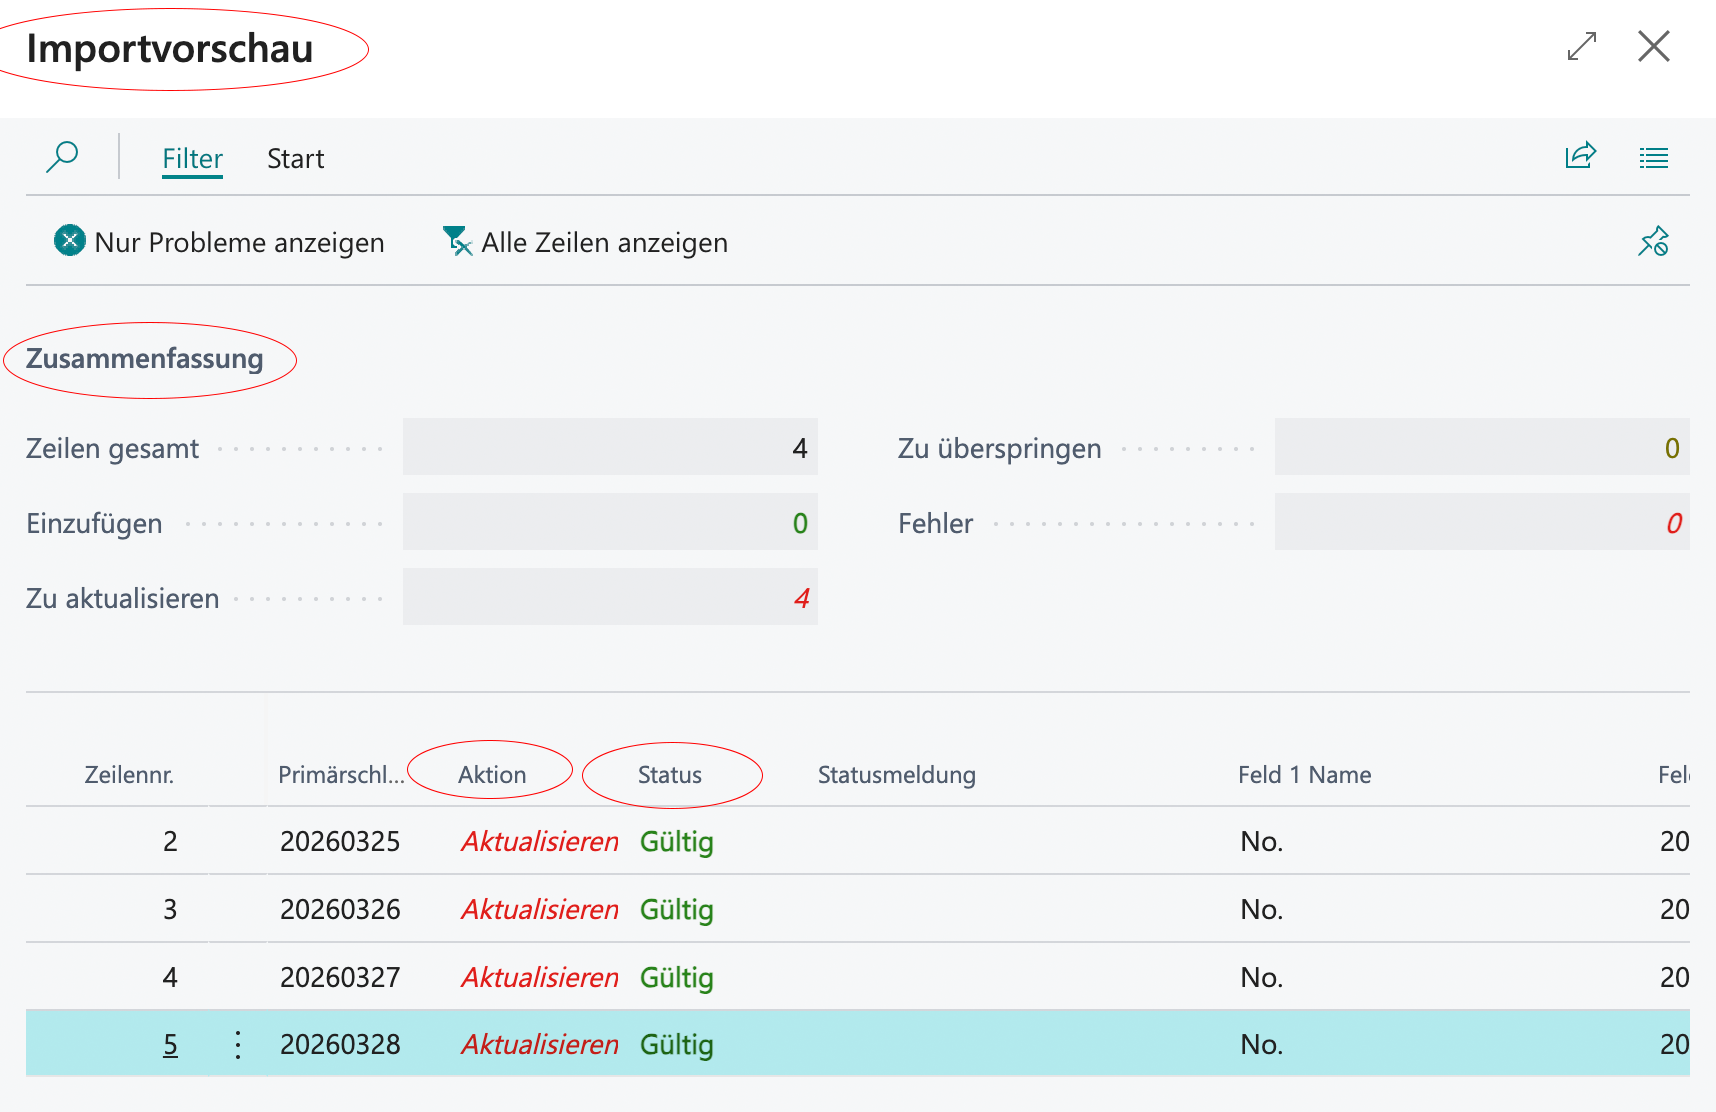
3.1 Overview per row
For each row, the preview shows:
Status with color-coded indicators
Insert
Update
Skip
Error
the primary key value for unique identification.
At the top of the screenshot, you can see summary figures:
The number of inserts
Updates
Skipped records
Errors

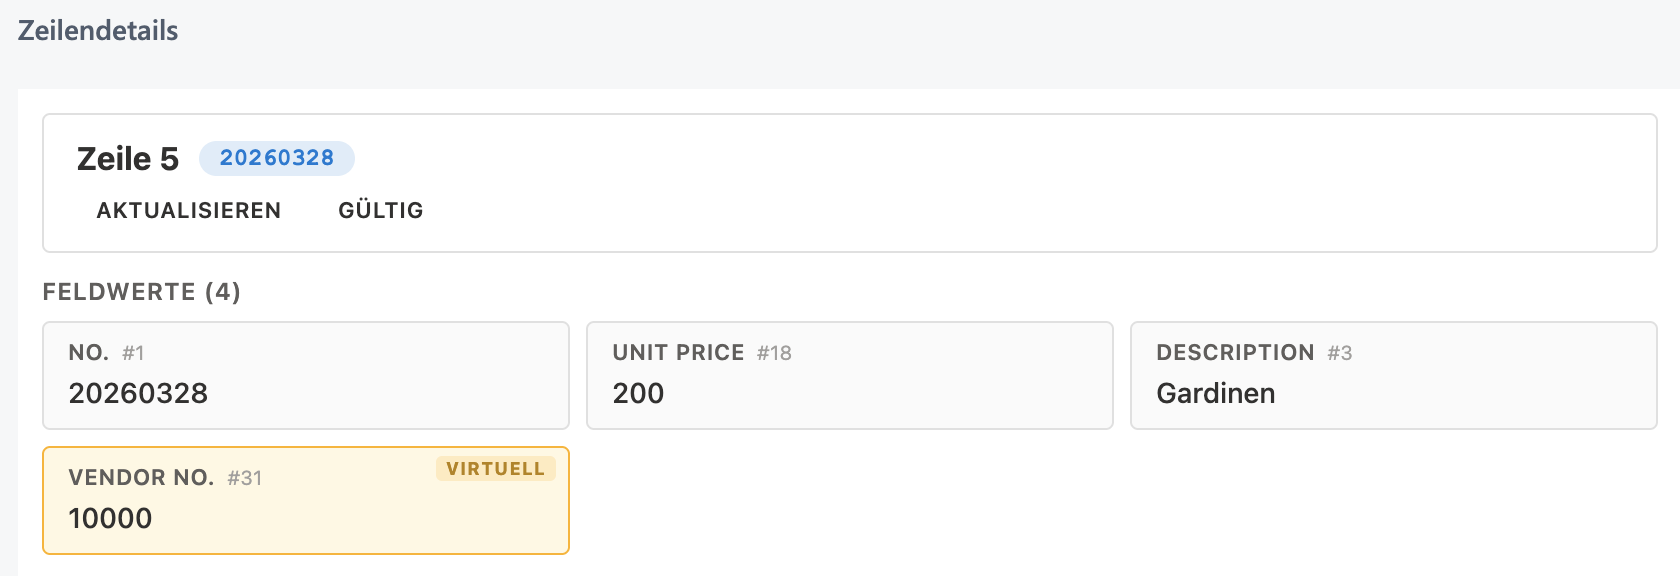
3.2 Row details
Click a row to open the detailed view. There, all mapped field values are displayed in a card-like layout:
Field names and value
values from virtual columns marked as such
row status with a colored badge
primary key highlighted

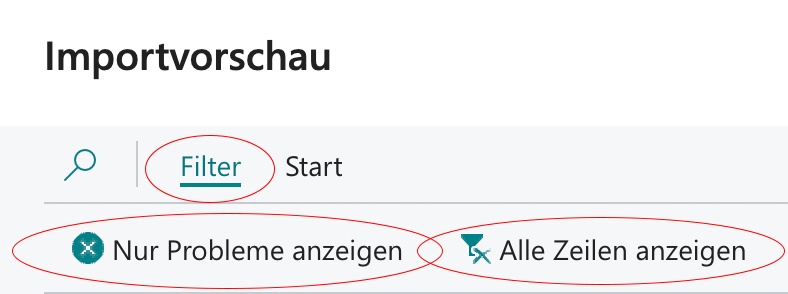
3.3 Additional functions


Use the preview for the first import with a new mapping. This allows you to detect mapping errors before they change your master data.
The preview uses the same logic as the actual import, but operates in read-only mode. For very large files, the preview may therefore take longer.
4. Import log
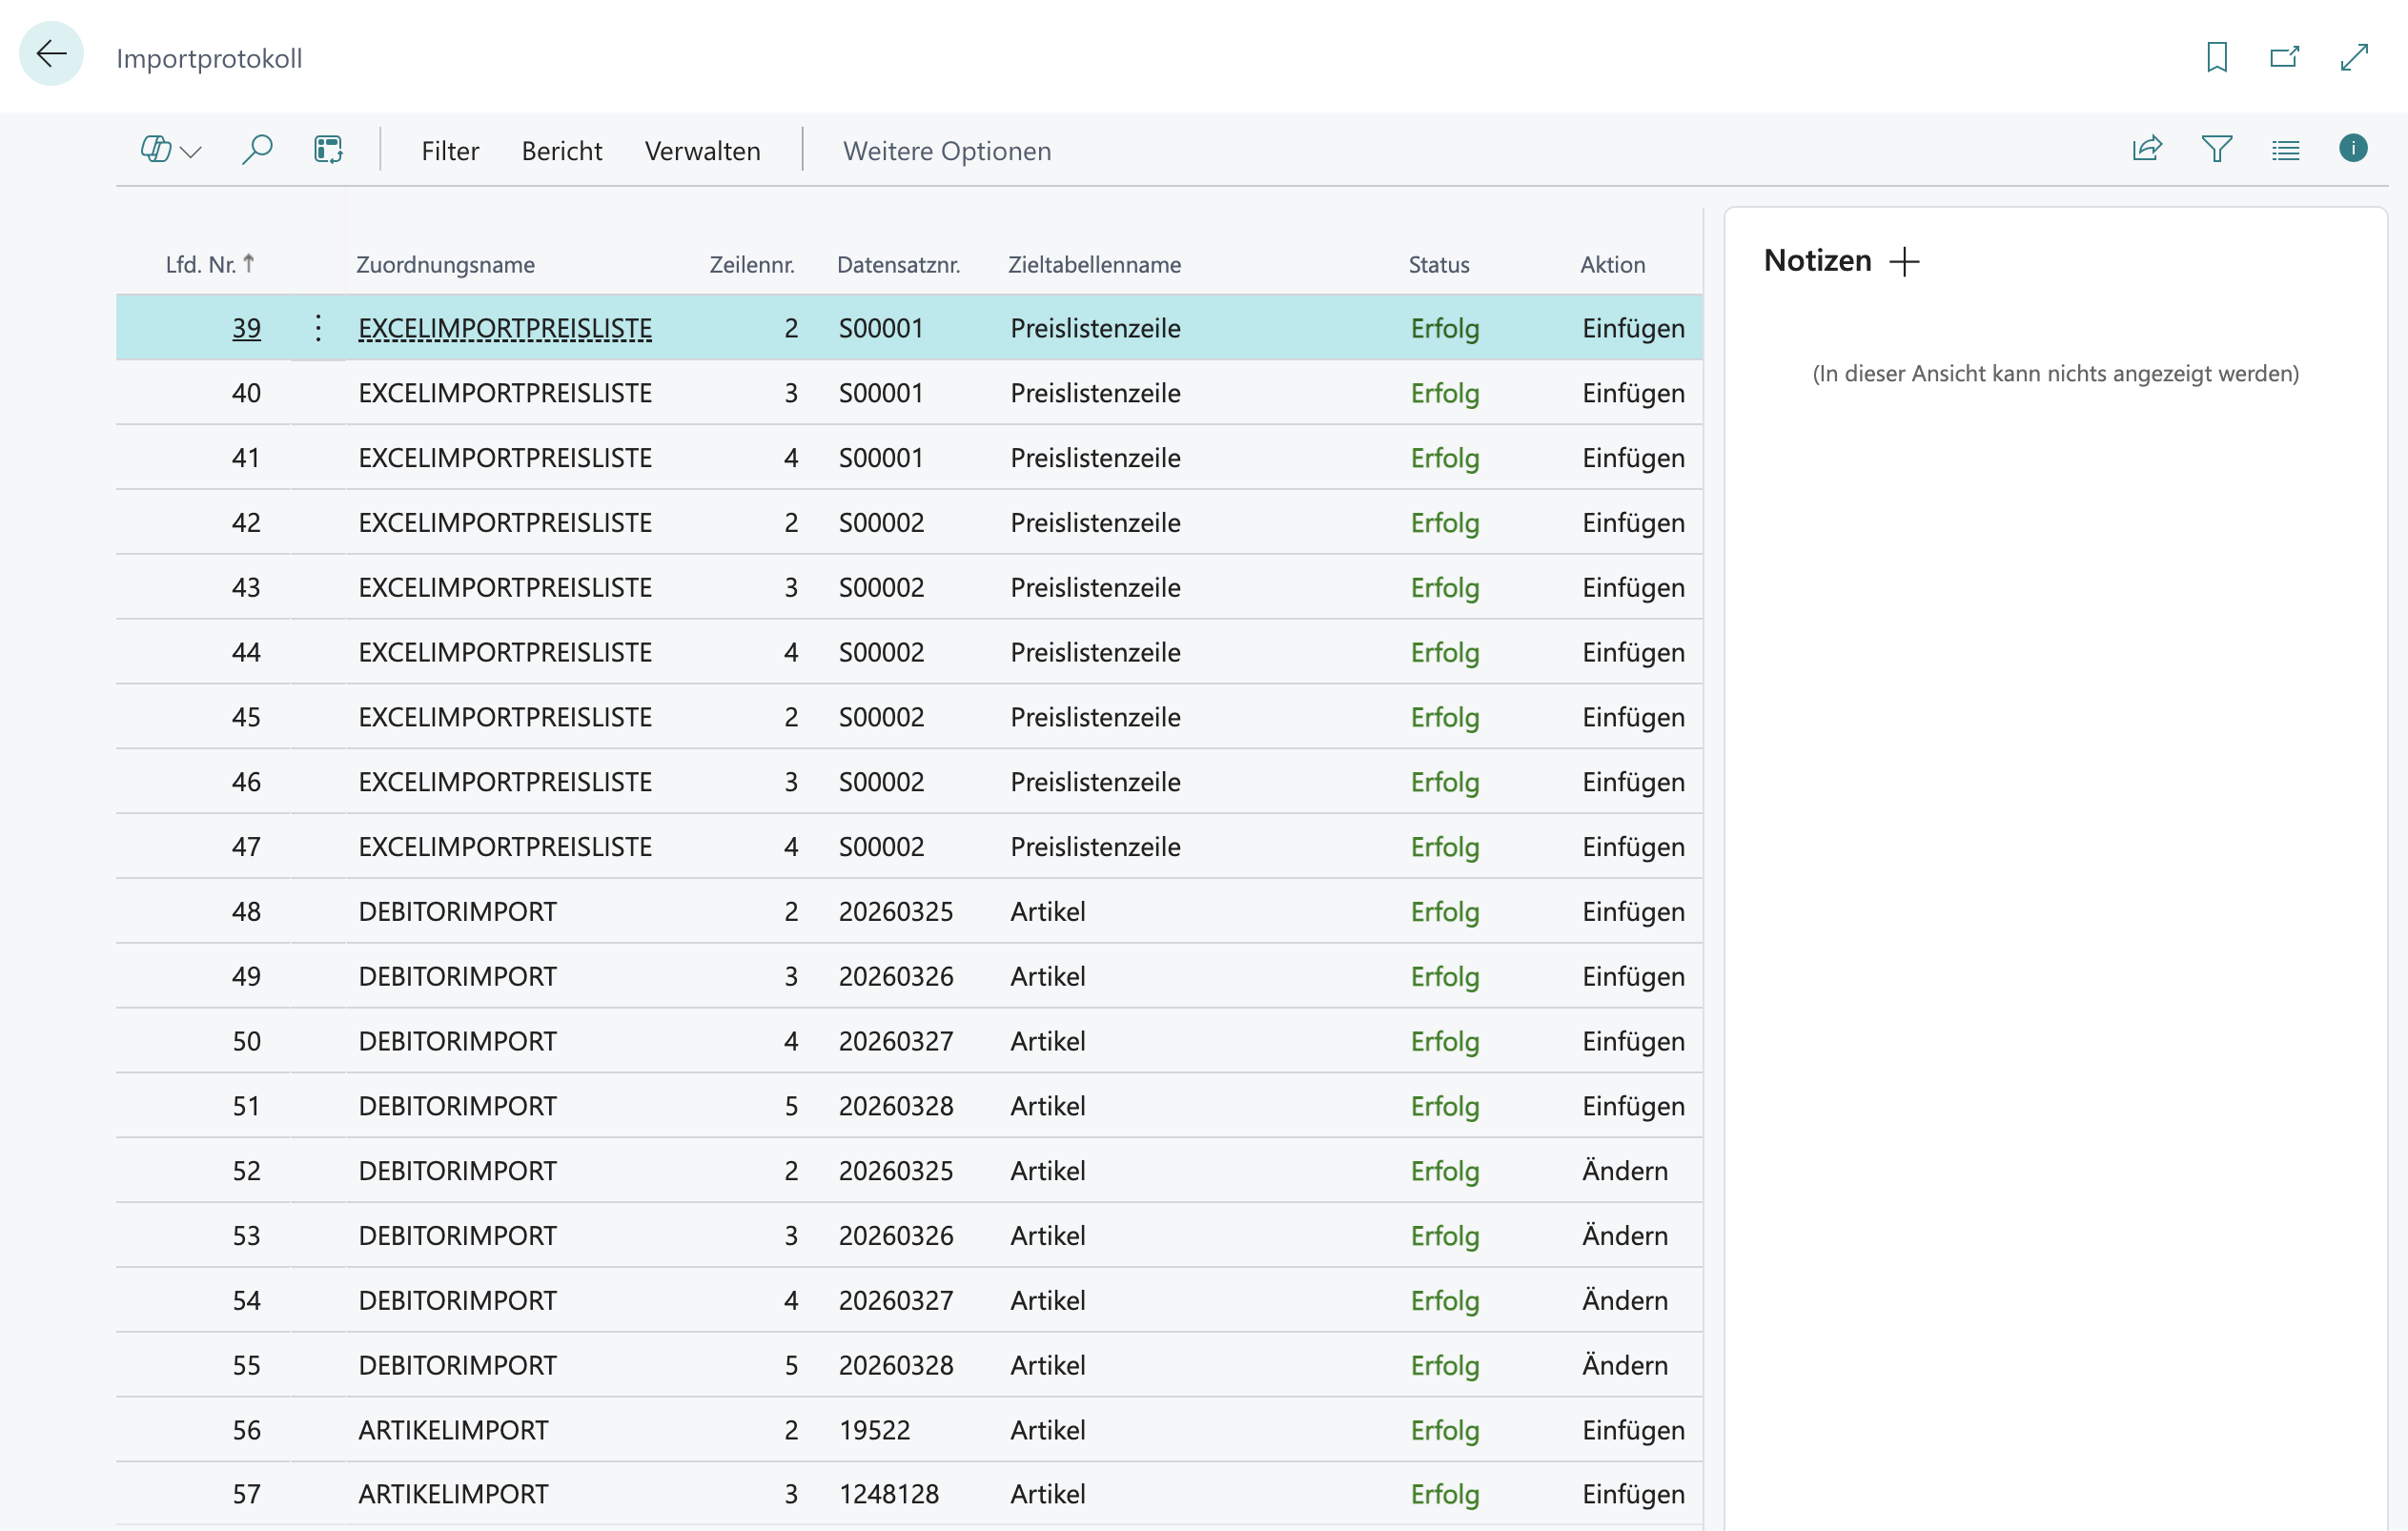
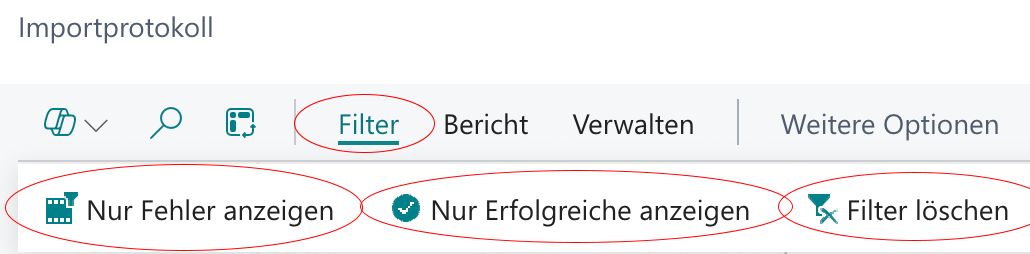
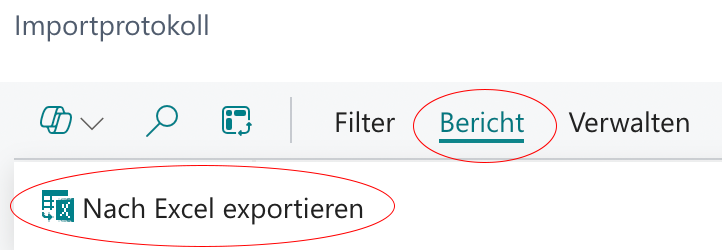
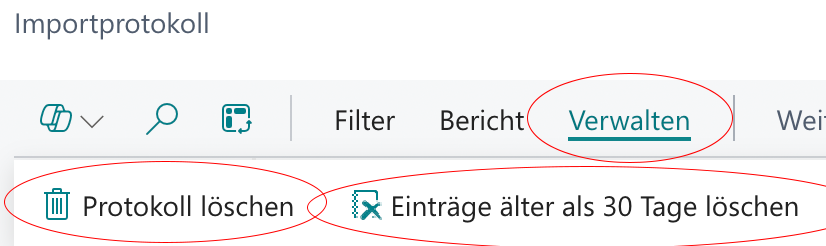
Every completed import is logged automatically. This ensures full traceability of the imported data and supports audits and checks. In addition, logging enables targeted error analysis, allowing potential issues in the import process to be identified and resolved quickly.
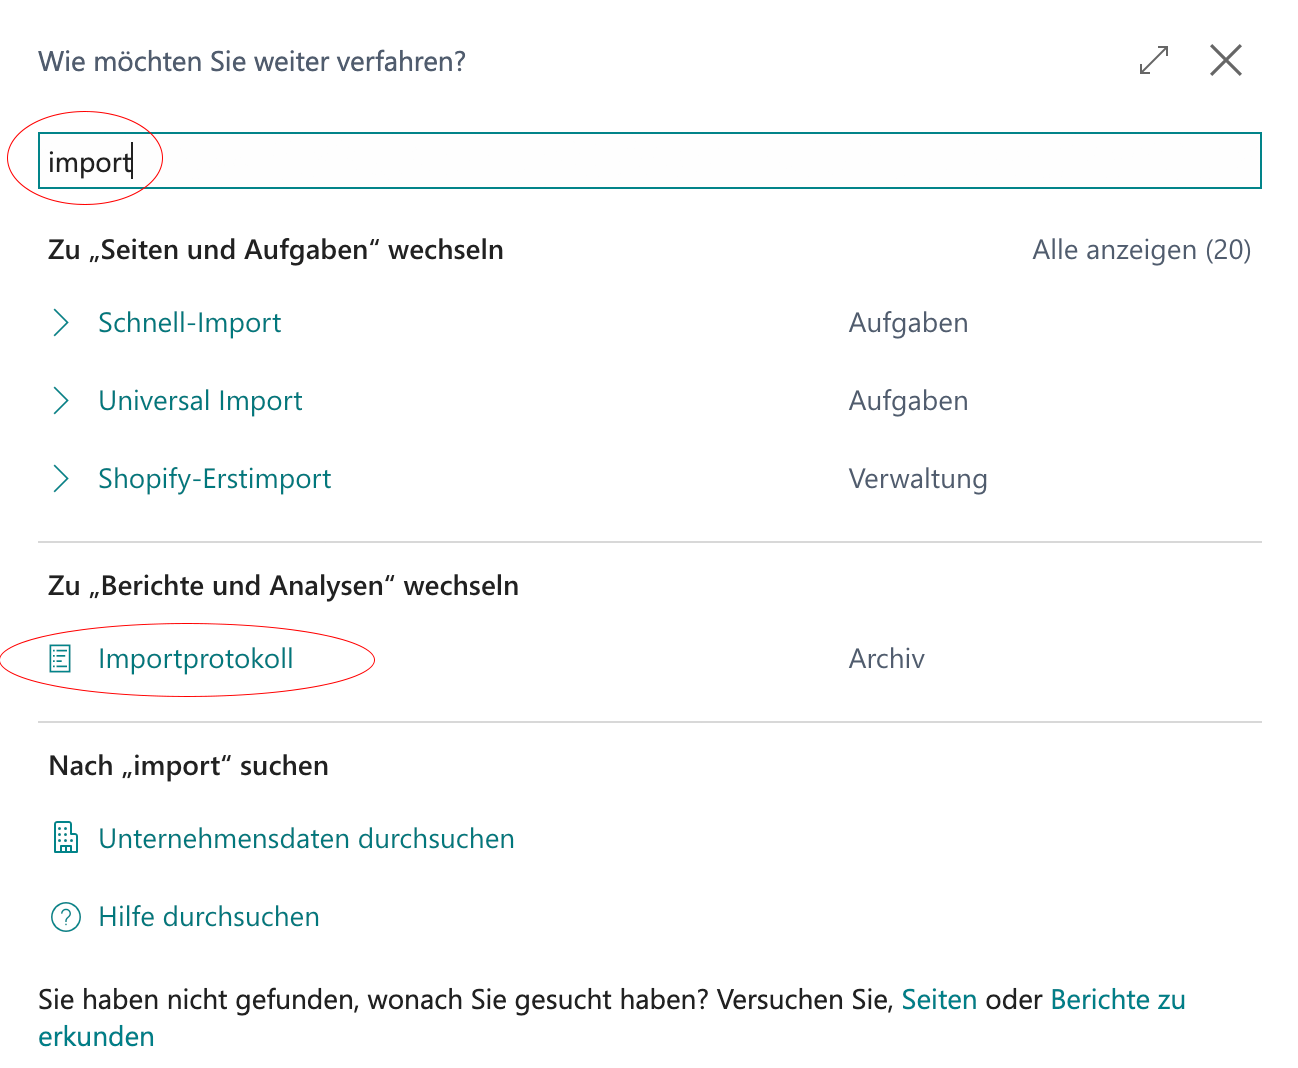
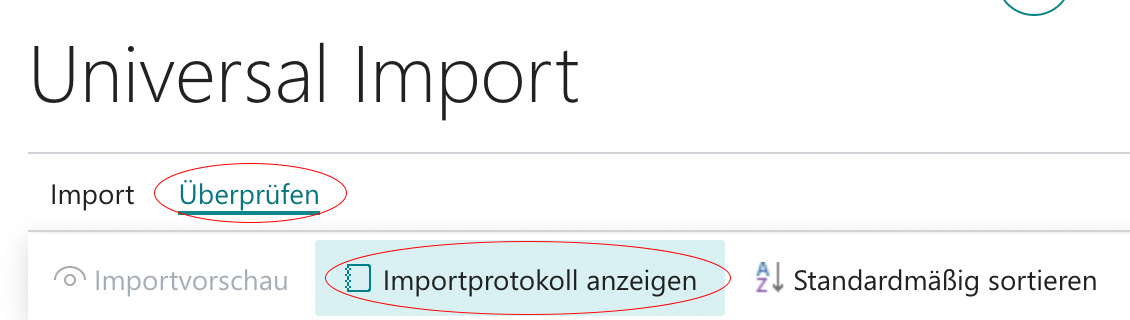
4.1 Two access options
4.2 Contents of a log entry
Row number from the source file
record identifier (for example item number)
Status: Success,error or skipped
Action: Inserted or modified
Detailed message (including error details and notes on skipped fields)
Timestamp
User who performed the import
FactBox notes for additional context, if used

4.3 Additional functions


Export the log to Excel after important imports, especially during the implementation phase when you are still refining mappings. This helps you maintain a documented history.
Last updated